
If you’re a Washington State hiker, you’re sure to have heard of the beautiful (and daunting) Enchantments. The thru hike itself ranges somewhere between 18 – 24 miles and over 4,500 ft. in elevation gain, although can be even longer/higher if you lose the trail or choose to explore off the path. The Enchantments are more commonly known for backpackers — there’s a lottery-style permit system every year that generally rewards less than 10% of entrants to camp out overnight along the trail. I’ve entered the lottery for 4 years now without winning, so this year I decided to take on the Enchantments as a thru hike, and I want to share my experience for those of you hoping to do the same!
Start: 4:50 am at the Stuart Lake / Colchuck Lake Trailhead
Overnight: Camping in the trailhead parking lots is technically not allowed, however we ended up doing so (and so did a couple dozen other people). My friend noticed someone walking around at 1am pointing a flashlight on dashboards, presumably a ranger checking for parking permits, but they didn’t seem to kick anyone out for camping.
Note: Leavenworth, WA is only about 10 minutes to the Snow Lakes TH lot and 30 minutes to the Stuart Lake lot, so there are plenty of accommodation options in the town if you’re okay with waking up earlier to get to the TH on time.
Transportation: We ended up renting a car so we’d be able to park one at each trailhead, but if you’re hiking earlier in the year, solo, or more confident in your speed, you could also use the trailhead connector shuttles to do this as a thru hike. They require reservations and generally begin closer to 6:30am.
Required Permits: Make sure you have the appropriate pass for your car(s). We left one car at each trailhead, and used an America the Beautiful pass in one, and a NW Forest Pass in the other (we bought two day passes, for the night we camped and the morning we hiked). You will also need to fill out a day-use permit at the trailhead, and keep it attached visibly to your backpack throughout the hike.
Because we were already at the trailhead, we were able to start the hike a couple hours before sunrise (estimated to be 7am) with the goal of reaching Colchuck at sunrise. We got to Colchuck right at Sunrise and had our first snack before making our way around the lake and up the infamous Aasgard Pass.
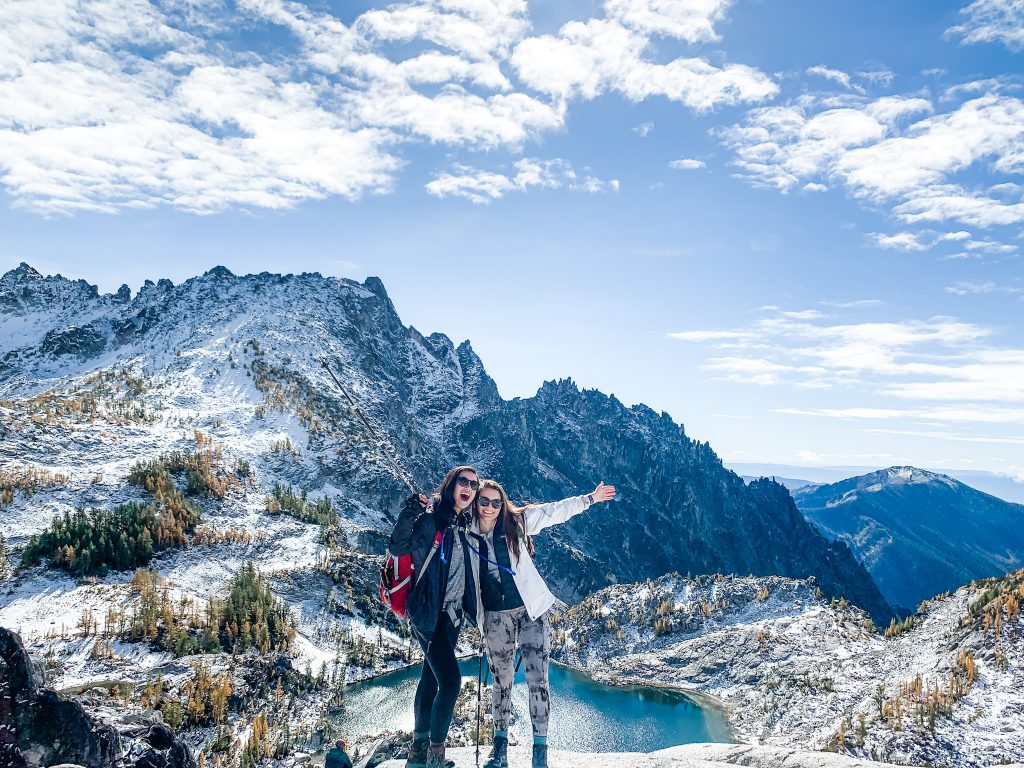
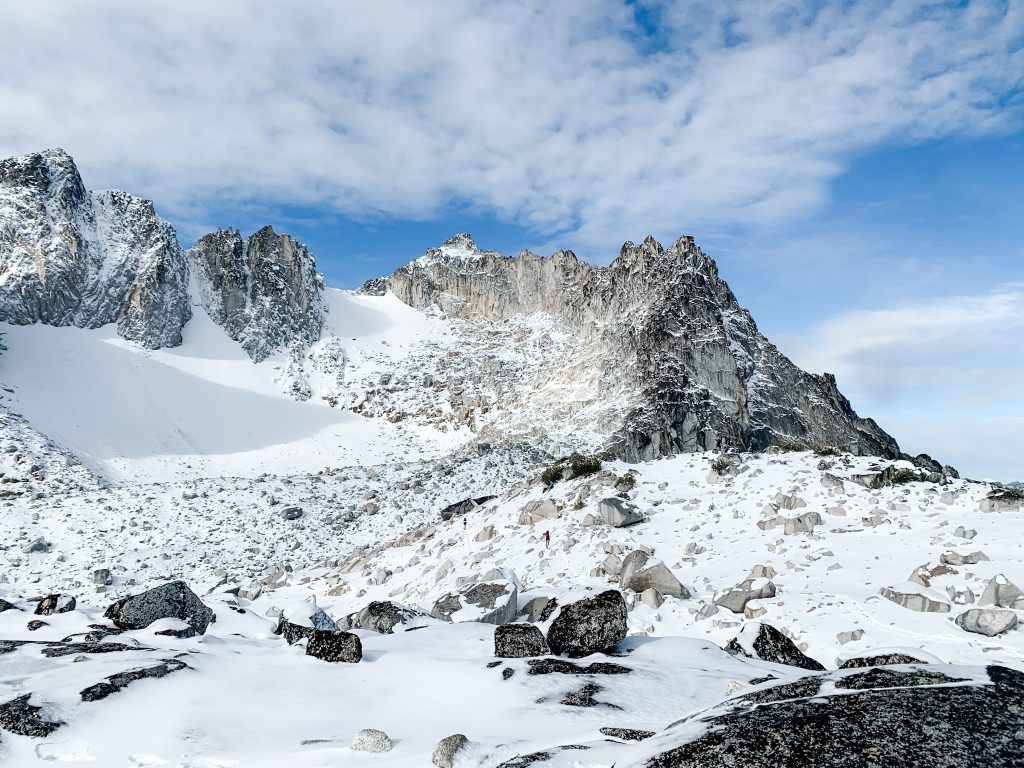
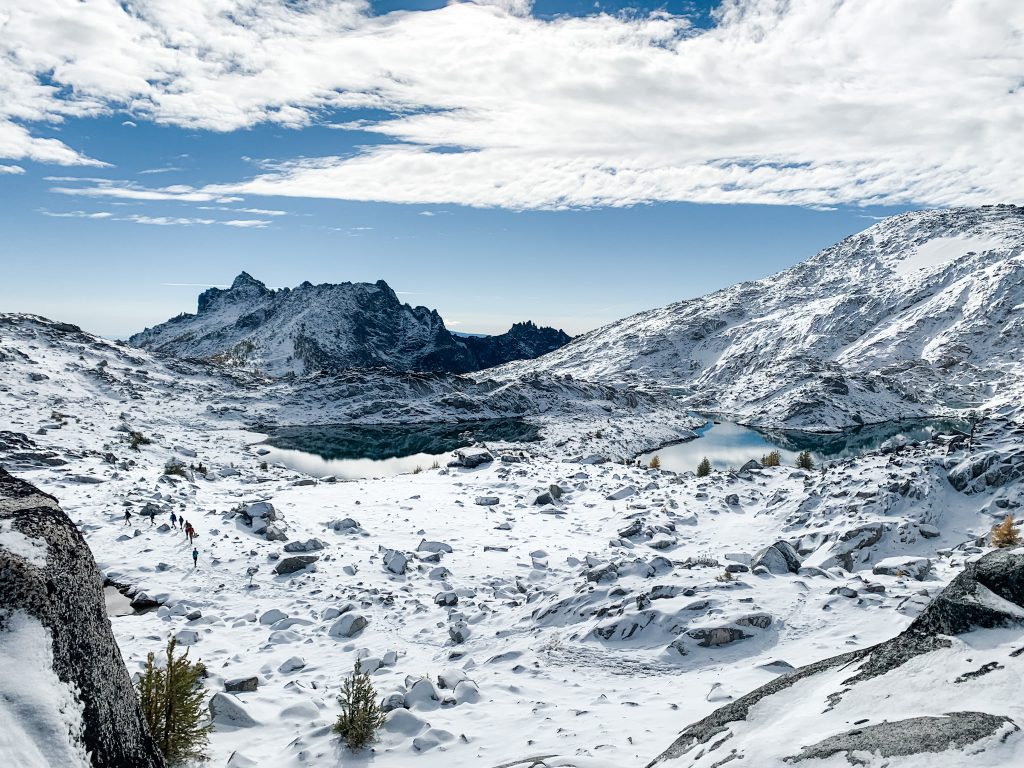
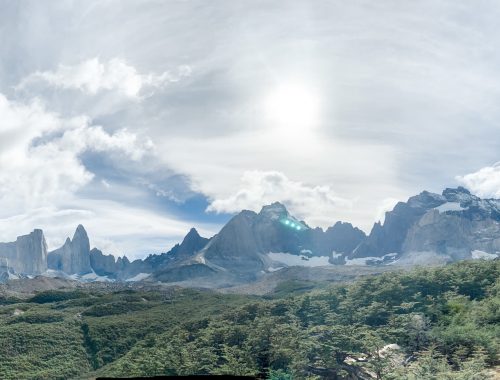
In our preparation for this hike, almost all the resources we looked at told us to prepare for Aasgard as it’s the steepest part of the trail, and what turns a lot of people off of the Enchantments. WTA notes that you climb almost 2,500 ft in less three-quarters of a mile, however I felt like it wasn’t as steep as I was expecting, just a long journey of going up. If you’ve done hikes like Mailbox Peak, Bandera Mountain, or Granite Mountain (all great training options) — I think you’ll be fine with the elevation. But Aasgard just keeps going and going, and I think that endurance of elevation is what makes it tough. When you reach the top, you’re rewarded with the stunning views of the Core Enchantments and you’ll forget all about the pain you just endured.
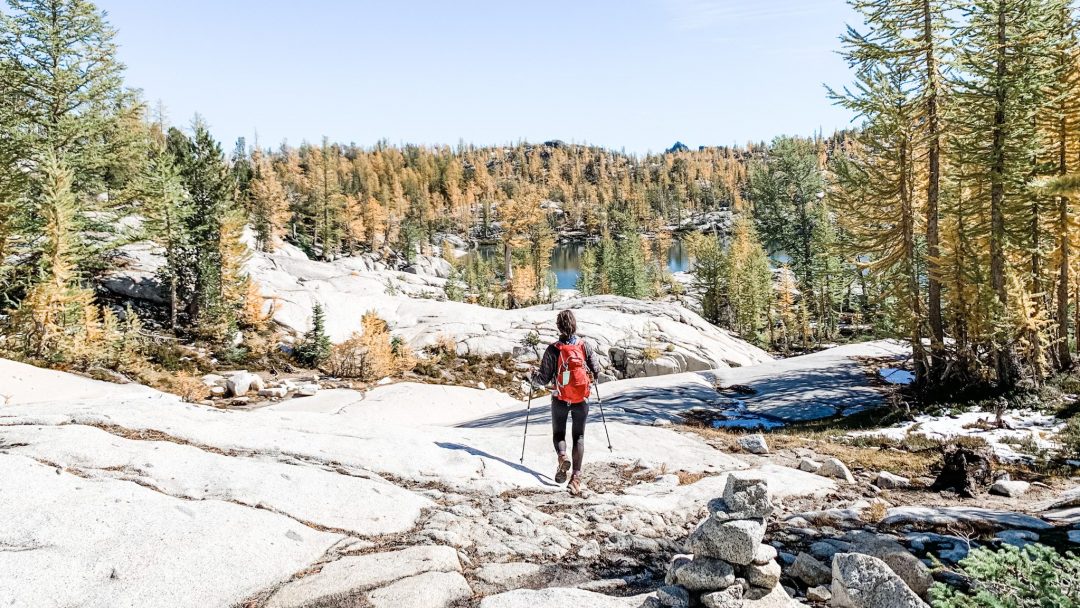
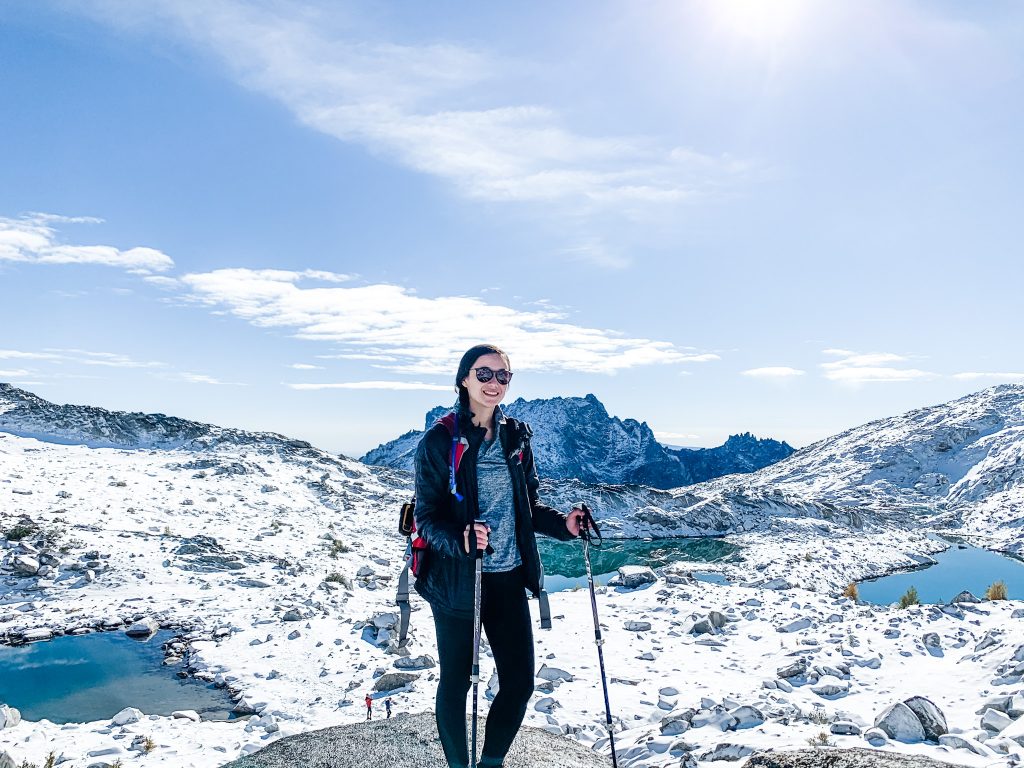
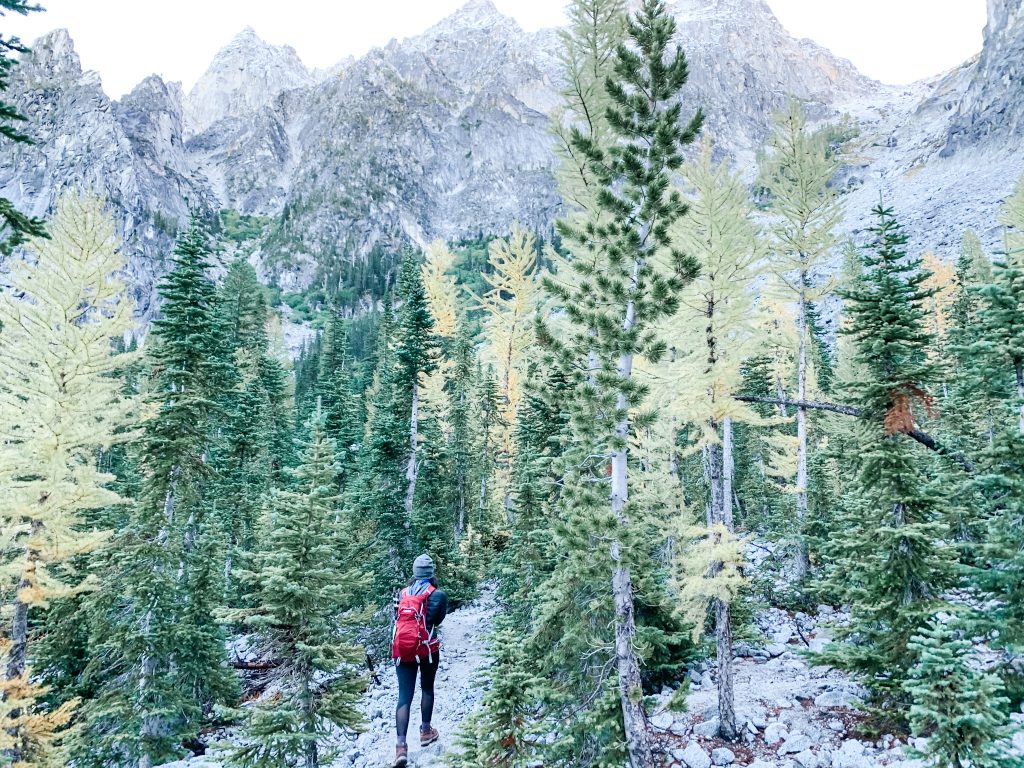
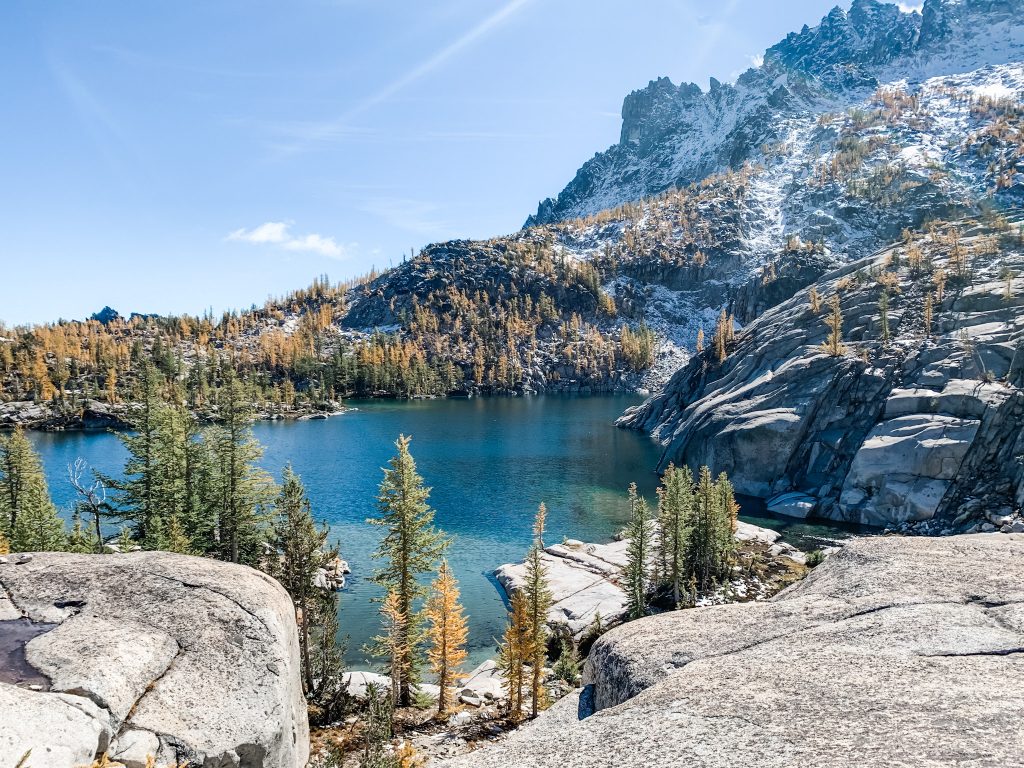
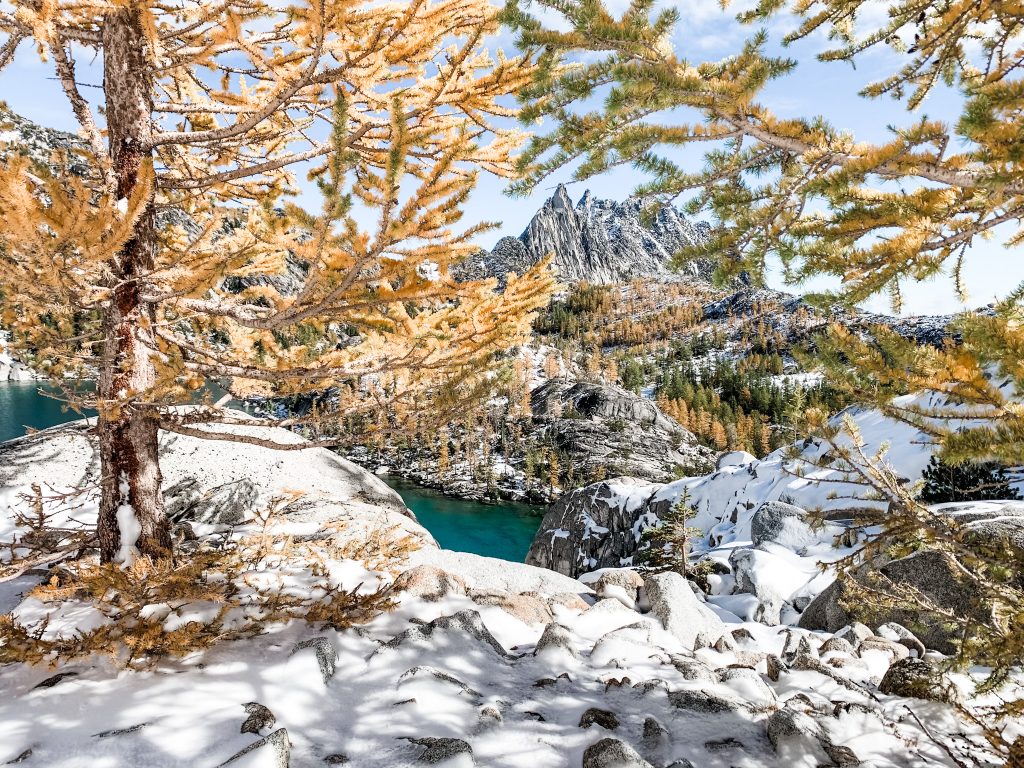
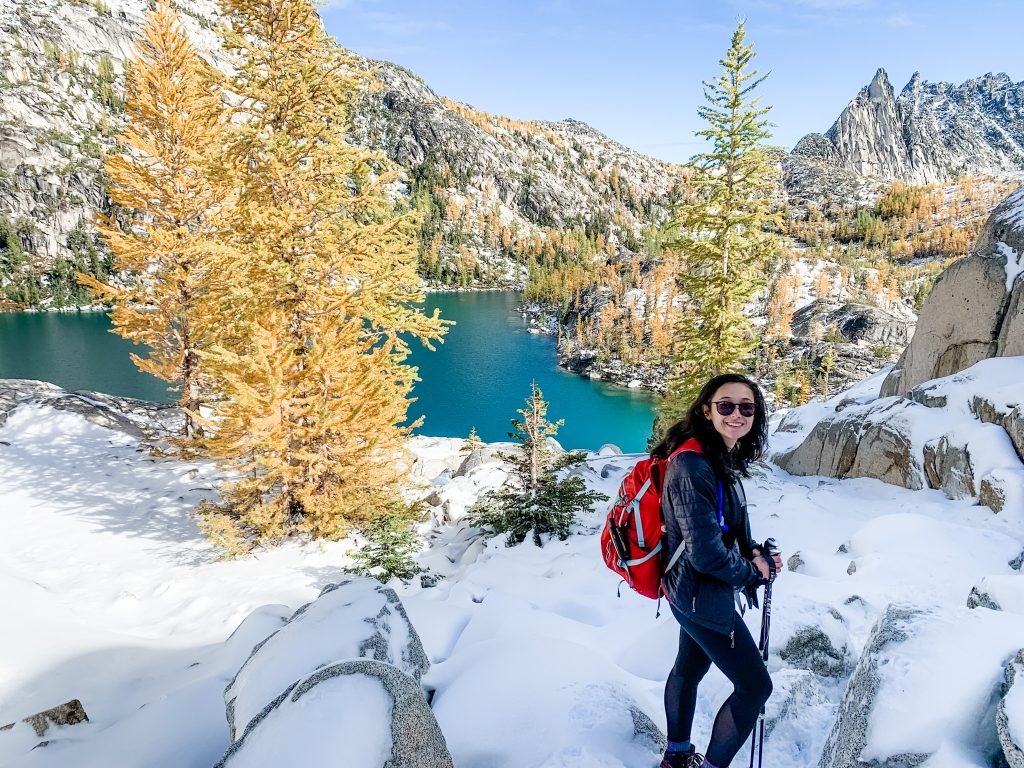
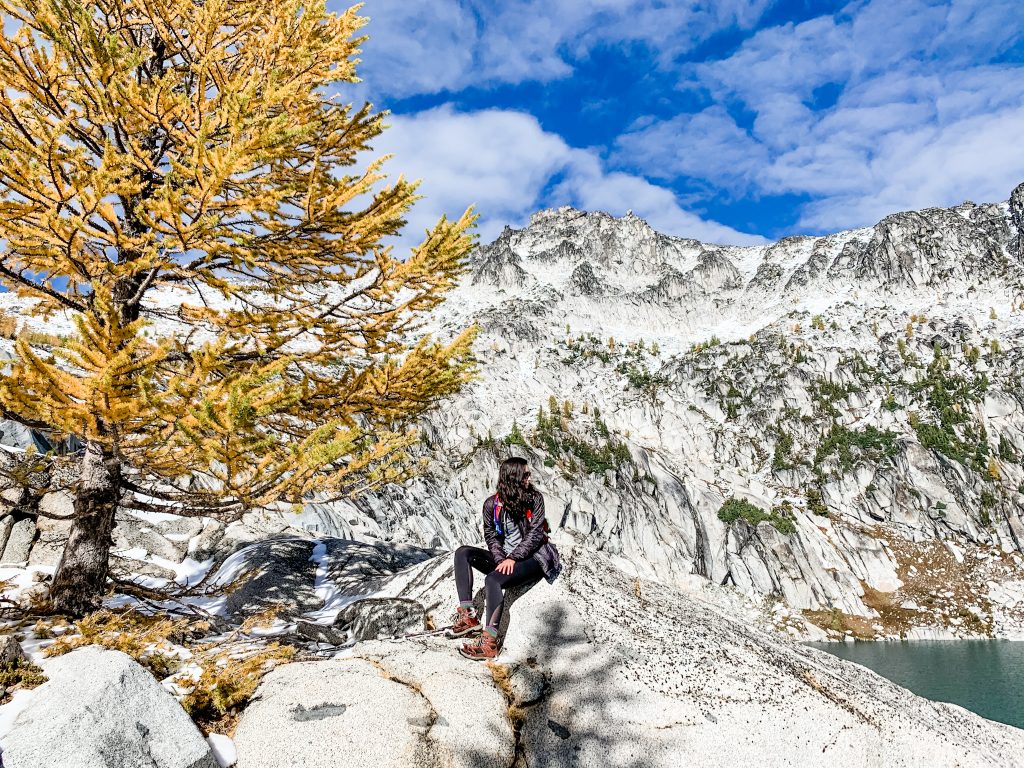
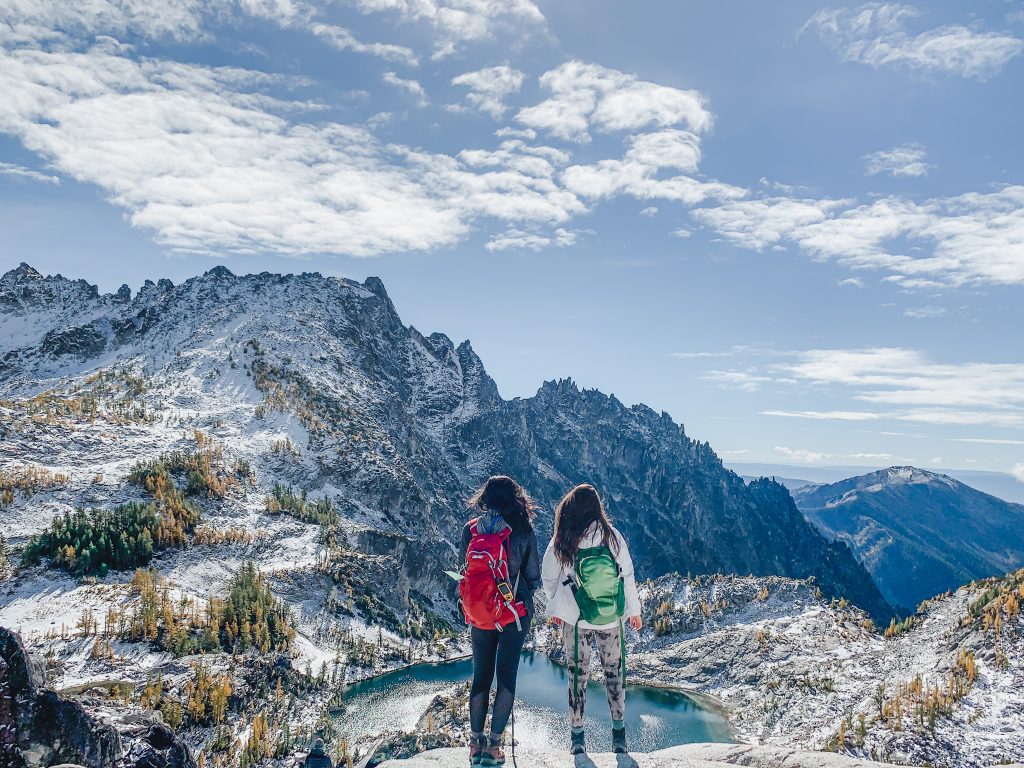
As for the Core, I can honestly say this is the most beautiful scenery I’ve ever seen (and if you’re a regular blog-reader, that says a lot). I was shocked at the beauty up in these mountains that we worked so hard to reach! Up to Colchuck lake the trail (while gorgeous) is very similar to most Washington hikes; deep forests ending in a rewarding lake surrounded by mountains. When you climb to the top, you see a whole new ecosystem of gorgeous alpine lakes, granite peaks, and lucky for us — it was larch season! Larches are highly-sought after PNW staple; while they look like evergreen trees most of the year, from late September through early October they burst into the most gorgeous bright shades of bright gold and deep orange for a celebration of Autumn. They don’t last long, and are only in very specific regions, so we were extremely lucky to have been able to make it up to the Enchantments during this period of time! We chose to hike at a medium-slow and steady pace with short breaks for photos and snacks, and made good time through the Core section.
The decline is where we started to feel the fatigue and pain that so many people talk about with hikes this long. In all our research, we’d focused so much on the elevation gain and Aasgard pass, that we’d ignored how long the way back down to Snow Lakes is. The way down is more than half the distance of the hike, and there’s an additional 2,000 ft to hike down to get to the Snow Lakes parking lot (since it’s at a lower elevation that the parking lot we started at). Because no one has a very accurate idea of how long the trail actually is, and it’s dependent on how much you wander, we found ourselves second guessing the remaining distance mile after mile.
We finally made it to the switchbacks where you can see the road and parking lot just as the sun started to set — our goal at this point was to make it to the car without needing our headlamps once again, but we remained at a slow and steady pace so as not to further irritate our tired joints (more on this in the tips section).
End: 7:00 pm at the Snow Lakes Trailhead
Total time: 14 hours
We estimate our total distance to be somewhere between 23 and 24 miles, but our watches both died pretty early-on in the trek so this is the estimate from AllTrails.
All in all, despite the pain and crankiness I was in on the last couple of miles (and the 3 hour car ride home), I am SO glad we were finally able to make this hike work after years of waiting. We got incredibly lucky with the first snow, larches, and beautiful smoke-free weather.
Packing List:
- Hiking First Aid Kit: Along with the 10-essentials, you should always carry a first aid kits on your hikes. I linked my favorite kit which comes with Moleskin (another essential), and is tailored to hiking/backpacking emergency scenarios!
- Water Filtration System: For a hike as long as this one it’s nice to have a squeeze filtration system so you don’t have to carry so much water with you; there are plenty of running streams you can fill-up on along the trail!
- Headlamp: Regardless of whether you think you’ll be able to do the whole hike during daylight hours: BRING. A. HEADLAMP. I can’t tell you how many people I’ve heard of underestimating the difficulty/length of this hike (myself included) that end up making the trek back to the car in the dark. We chose to start the hike pre-sunrise, so this was a necessity regardless of how long it took us.
- Solar Powered Inflatable Lantern: More of a nice-to-have to be honest, but this inflatable lantern is one of my holy grail hiking/camping/backpacking products. It deflates to the size of a CD (remember those?), but lights up a large tent with ease, and is entirely solar powered so you don’t have to worry about having access to power!
- Satellite Phone: Our hike happened to be the first sunny and smoke-free day for weeks, so it was relatively crowded and we could count on seeing several other hiking parties per mile, but that’s not always the case with the Enchantments. Remember, you’re going into the remote wilderness on a long enough hike that you could go hours without seeing another person; while a satellite phone isn’t a necessity, it’s a great piece of hiker’s insurance to invest in, and the one time you do need to use it, it’ll be worth all the months or years it went unused. Almost every party on the trail had the same Garmin inReach hanging off of their packs as well.
- Camelbak Hydration Pouch: As much as I love my Hydroflasks, for a hike like this, a Camelbak (or similar style backpack water pouch) is so necessary. Not only does it more efficiently carry large amounts of water, but the convenience of being able to take a quick sip on a hike is unmatched by any water bottle style.
- Hiking Poles: I have never been a big fan of hiking poles; I feel like more often than not, they get in my way. However, I was very glad I had them for this hike. Not only did it end up being snowier than anticipated, but it helped distribute our weight more evenly to relieve our fatigued joints on the downhill section of the hike.
- Spikes: Depending on the time of year you hike, you may need spikes in addition to your poles; when we went, this could’ve helped speed up our pace, but wasn’t necessary
- Sun Protection: I always leave a travel-sized sunscreen in my hiking backpack; UV in the mountains can be unforgiving!
- Bug Protection: This may be more/less relevant depending on the time of year that you do the hike, but it’s never a bad idea to keep a small bug spray on you just-in-case. Going at the end of September, we really didn’t run into many bugs on the hike.
- Snacks and meals for the full day
- Pack extra layers, or leave extra room for layers that you start with – the temperature varies quite a bit at different points of the trail, elevation, and time of day – prepare for the full spectrum! We really appreciated having gloves and beanies for the first few miles that we hiked before sunrise.

No Comments